New Year, Healthy Eating

Would you like to reach your wellness goals in the new year?

Do you need help navigating the waters of food choices and fad diets?

With this step-by-step program, you will lose weight and learn healthy habits that last a lifetime.

A healthy diet is essential to achieving and maintaining well-being.

This simple program includes:

Recipes: Taste good health with delicious recipes that are easy to prepare and highlight food as medicine.

Updates: Receive customized advice based on your health assessment.

Tools: Gain tips to stay healthy and keep eating well for life.

Resources: Read articles written by food experts that relate to your wellness goals.

"Lisa's Healthy Eating Program gave me personalized content, including information on how to cook and eat better, reduce stress, breathe, and more! Her simple, weekly guide helped me implement changes at my pace and maintain the new way of being. Thank you!" Christie W.

apples-beverage-blur-1171552.jpg

Basil and Blueberries

These two foods are perfect for summer and have powerful digestive and anti-oxidant qualities. Cook and be well!

BLUEBERRY BASIL SAUCE

Rinse 2 cups fresh, organic blueberries.

Place in a stock pot with:

¼ cup water

pinch salt

1 Tablespoon almond butter

Cook on medium heat for 15 minutes, stirring occasionally.

Add 1 Tablespoon honey, stir well, and remove from heat.

Place in a blender with:

1 cup fresh basil leaves

1 Tablespoon lemon juice

Blend at lowest speed for 2 minutes.

Preserve in jars in the freezer or enjoy with salmon, chicken, or white beans.

erol-ahmed-KG8ofkGRl1k-unsplash.jpg

Vegetable Literacy

Spring is coming, and so are the vegetables! Get excited for a wonderful new book, which hits the shelves TODAY, both in bookstores and online.

The book, which I am lucky enough to have contributed to, is written by Deborah Madison, who is a leading authority in vegetarian cooking and has published eleven cookbooks.

Click this link to learn more and purchase a copy.

Vegetable Literacy is a gorgeously photographed reference for cooking vegetables. It is organized according to twelve families from the edible plant kingdom and includes over 300 simple, delicious recipes. Try making the Kohlrabi Slaw with Frizzy Mustard Greens or Griddled Artichokes with Tarragon Mayonnaise. Learn from Madison's extensive knowledge of cooking, gardening and botany.


Corn Moon & Fermented Vegetables

Traditional agrarian people know this time the corn moon season, the time closest to autumn equinox - September 21st. We have been harvesting corn and roasting it over the open fire. This is the time to gather grains, vegetables, fruit and beans in order to store enough nourishment for the colder months to come.

Try this delicious corny recipe! 

Sweet Potato Corn Cakes

Wash, chop and boil or steam 2 medium sweet potatoes.
Meanwhile, shuck raw corn off of 2-3 cobs by running a sharp pairing knife vertically down each ear of corn. 

Preheat oven to 350 degrees. Grease a cookie sheet with vegetable oil.

Mash cooked sweet potatoes into a mixing bowl with:
shucked corn
2 eggs
4 Tablespoons vegetable oil
4 Tablespoons milk (almond, rice, or cow)

Mix well.
Add and mix well:
1 cup flour (spelt, millet or rice)
1/2 teaspoon each: salt, cumin, coriander

Place heaping spoon-fuls of dough onto cookie sheet. Flatten each one with the back of the spoon.

Bake at 350 degrees for 20 minutes or until golden brown.

Enjoy with beans, roasted chicken, or a late summer salad.

If you would like to grind your own corn (or any may want to purchase a hand-cranked grinder or an electric one. It can be as simple as an espresso bean grinder or more complex. No method is better than the other. Here are some options:

                www.komomillsandflakers.com (try the Komo Fidibus Classic)
                www.grainmillshop.com
                www.lehmans.com (hand-cranked mills and more)


Lacto-Fermented Vegetables 

Gratitude to Sandor Ellix Katz for guidelines from his book, The Art of Fermentation (Chelsea Green, 2012)
Timeframe: 1-4 weeks (or more)
You will need:
Ceramic crock or food-grade plastic  bucket, one-gallon capacity
Plate that fits inside crock or bucket
One-gallon jug filled with water (or a scrubbed and boiled rock)

Cloth cover (pillowcase or towel)
5 pounds cabbage or a mixture of other vegetables*
3 tablespoons sea salt

Chop or grate cabbage, finely or coarsely, with or without hearts, however you like it. I love to mix green and red cabbage to end up with bright pink kraut. Place cabbage in a large bowl as you chop it.
Sprinkle salt on the cabbage as you go. The salt pulls water out of the cabbage (through osmosis), and this creates the brine in which the cabbage can ferment and sour without rotting. The salt also has the effect of keeping the cabbage crunchy, by inhibiting organisms and enzymes that soften it. 3 tablespoons of salt is a rough guideline for 5 pounds of cabbage.

*Add other vegetables. Grate carrots for a coleslaw-like kraut. Other vegetables I’ve added include onions, garlic, seaweed, greens, Brussels sprouts, small whole heads of cabbage, turnips, beets, and burdock roots. You can also add herbs and spices (caraway seeds, dill seeds, celery seeds, and juniper berries are classic, but anything you like will work). Experiment!

Mix ingredients together and pack into crock. Pack just a bit into the crock at a time and tamp it down hard using your fists or any (other) sturdy kitchen implement. The tamping packs the kraut tight in the crock and helps force water out of the cabbage.


Cover kraut with a plate or some other lid that fits snugly inside the crock. Place a clean weight (a glass jug filled with water) on the cover. This weight is to force water out of the cabbage and then keep the cabbage submerged under the brine. Cover the whole thing with a cloth.

Press down on the weight to add pressure to the cabbage and help force water out of it. Continue doing this periodically (as often as you think of it, every few hours), until the brine rises above the cover. This can take up to about 24 hours, as the salt draws water out of the cabbage slowly. Some cabbage, particularly if it is old, simply contains less water. If the brine does not rise above the plate level by the next day, add enough salt water to bring the brine level above the plate. Add about a teaspoon of salt to a cup of water and stir until it’s completely dissolved.

Leave the crock to ferment in a corner of the kitchen. Check the kraut every
day or two. The volume reduces as the fermentation proceeds. Sometimes mold appears on the surface. Skim off what you can and don’t worry about it. It’s just a surface phenomenon. The kraut itself is under the anaerobic protection of the brine.

Rinse off the plate and the weight. Taste the kraut. Generally it starts to be tangy after a few days, and the taste gets stronger as time passes. In the cool temperatures of a cellar in winter, kraut can keep improving for months and months. In the summer or in a heated room, its life cycle is more rapid.
Store in jars in the fridge for up to 1 year.

Try to start a new batch
before the previous batch runs out. Remove the remaining kraut from the crock, repack it with fresh salted cabbage, then pour the old kraut and its juices over the new kraut. This gives the new batch a boost with an active culture starter.

Oven Canning, Fall Sweetness


Fruit and Honey Jam

You will need:
     4 pounds or so fresh, ripe apricots, berries, apples, or a combination
     ½ teaspoon each: cinnamon and cardamom powder
     Pinch salt  
     6 Tablespoons local honey 

Start by blanching and de-stoning the fruit. Bring a large pot of water to a boil. Fill a bowl with cold water. Drop the fruit into boiling water and boil for 20 seconds. Transfer to the ice water with a slotted spoon, and cool briefly. Slip off the skins, cut in half and remove the stones.

Place the fruit and spices in a heavy saucepan and simmer for 15 minutes over medium heat. Simmer 10 to 15 minutes, stirring often, until the apricots have broken down into a Stir often until the apricots have reduced into a thick purée.

While jam is cooking, sterilize pint mason jars and lids by placing them in the sink, pouring boiling water over them, and draining them on a clean dish towel.

Separate oven racks so that a jar fits in between them and line the racks with cookie sheets.
Preheat oven to 200 degrees.

Add honey and stir to incorporate. Taste for sweetness and add more honey if desired. Turn off heat and ladle hot jam into hot jars. Make sure you leave 5 cm of headspace from the top of the jar.

Remove air bubbles and adjust headspace as needed. Wipe any jam off of jar rims and put lids on jars.  Screw bands down until tight.

Turn off the oven. Place jars in oven and leave them in for 6 hours or so.

Test jars by pressing on the top to make sure that the lid is firm.

Repeat the oven canning process for any lids that are not firm. Label jars with name and date, place on pantry shelves.

Sweet and Savory Apricots


Apricot Honey Jam 
4 pounds or so fresh, ripe apricots (visit your local coop or farmers market) 
½ teaspoon each: cinnamon and cardamom powder 
Pinch salt  
6 Tablespoons local honey 

Start by blanching and de-stoning the apricots. Bring a large pot of water to a boil. Fill a bowl with cold water. Drop the apricots into boiling water and boil for 20 seconds. Transfer to the ice water with a slotted spoon, and cool briefly. Slip off the skins, cut in half and remove the stones.  

Place the apricots and spices in a heavy saucepan and simmer for 15 minutes over medium heat. Simmer 10 to 15 minutes, stirring often, until the apricots have broken down into a Stir often until the apricots have reduced into a thick purée.  

While jam is cooking, sterilize pint mason jars and lids by placing them in the sink, pouring boiling water over them, and draining them on a clean dish towel.  

Separate oven racks so that a jar fits in between them and line the racks with cookie sheets. Preheat oven to 200 degrees. 

Add honey and stir to incorporate. Taste for sweetness and add more honey if desired. Turn off heat and ladle hot jam into hot jars. Make sure you leave 5 cm of headspace from the top of the jar.  

Remove air bubbles and adjust headspace as needed. Wipe any jam off of jar rims and put lids on jars.  Screw bands down until tight.  

Turn off the oven. Place jars in oven and leave them in for 6 hours or so. 

Test jars by pressing on the top to make sure that the lid is firm.  Repeat the oven canning process for any lids that are not firm. Label jars with name and date, place on pantry shelves. Enjoy with grilled local trout, on breakfast toast, or with pancakes. 

Apricot Tart with Local Wheat 
inspired by a traditional recipe for hamantaschen

For the crust, mix the following ingredients together: 
 2 cups New Mexico whole wheat flour (from Butterworks Farm perhaps!) 
 2 Tablespoons apple cider vinegar 
 ½ cup local butter, cut into squares (save the wrapper to grease your pie dish) 
 1 egg 

Mix all ingredients together and add a splash of water of needed. Dough needs to be firm enough that you can pick it up with your hands and shape it into a flat disc. Wrap it in waxed paper and place it in the fridge to rest for 15 minutes. 

Take 1 pound ripe, fresh apricots and slice each one in half. Remove the stones. Place halves in a bowl and toss with: 
 Juice from ½ lemon 
 1 teaspoon vanilla extract 
 1 teaspoon cardamom powder 
 Pinch salt 
 5 Tablespoons local honey 
Set aside. 

Preheat the oven to 350 degrees. 
Grease a 9 inch cake or pie pan with the wrapper from your stick of butter. 
Remove dough from fridge and roll it out between two sheets of waxed paper. 
Spread dough evenly into the bottom and along the sides of a 9 inch round pie or cake pan.  

Arrange apricot halves in layers, cut side down, on the pie crust. 

Using the same bowl in which you mixed the apricots, mix together: 
 1 cup whole wheat flour 
 ¼ cup vegetable oil 
 2 teaspoons cinnamon 
 Pinch salt 
Leave this batter clumpy and use your fingers to sprinkle it over the top of the apricots to make a crumble topping. Bake for 1 hour, or until a knife inserted into the center tests clean.  

Mediterranean Wheat Berry Apricot Pilaf 
Boil 2 cups water in a medium stock pot. 
Take 1 cup local wheat berries, rinse well, and pour into the boiling water. 
Turn off the heat, cover, and set aside for ½ hour or so. This will tenderize the berries and reduce their cooking time. 

Meanwhile, slice 6 ripe, fresh apricots in half and remove their stones. 
Dice them into fingernail-sized cubes.  
Place them in a bowl and toss them with 4 Tablespoons olive oil and 1 Tablespoon apple cider vinegar. 

Mince 2 cloves garlic and 1 small shallot. Add these to the bowl. 
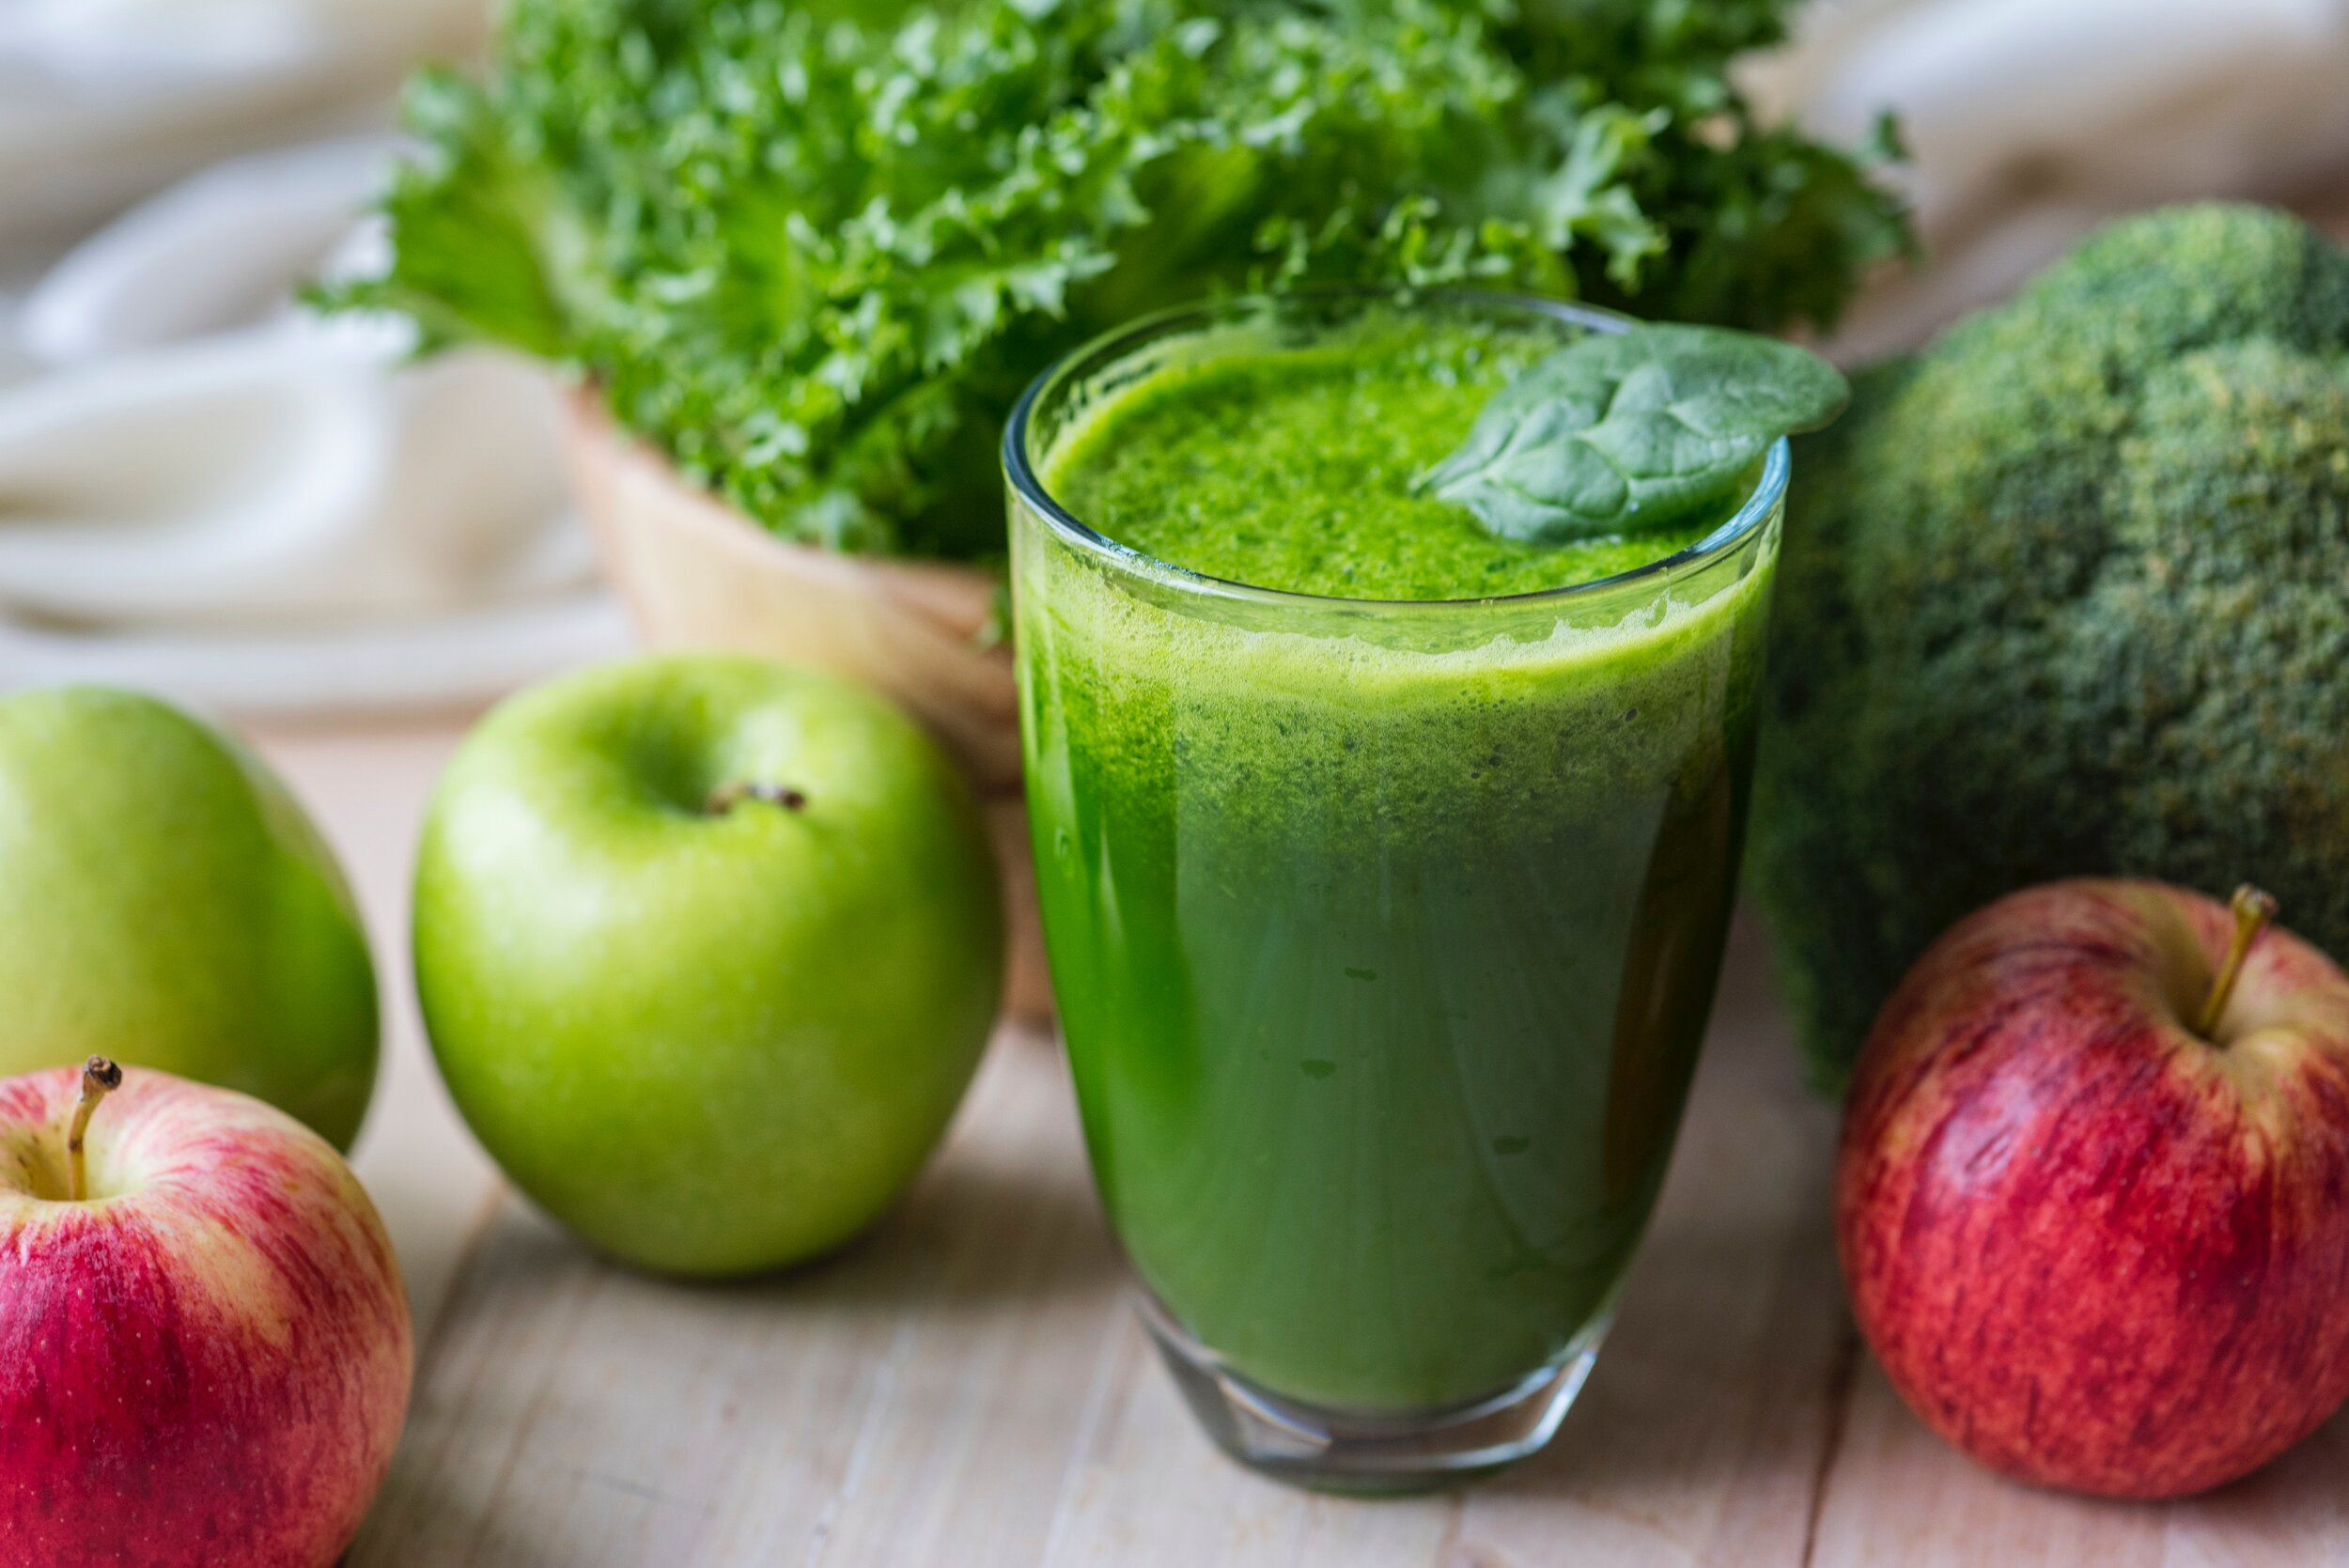
Wash one bunch fresh, tender green kale. Chop coarsely and add to the bowl. Set aside. 

Then, drain any remaining water and rinse wheat berries through a fine mesh strainer. 
Return berries to stock pot, add 2 cups water, and bring to a boil. 
Add 2 Tablespoons each: salt, lavender, tarragon, and rosemary. 
Reduce heat to medium and simmer, with lid askew, for 20 minutes,  
Add the apricots, garlic, shallots and kale. Stir briefly to incorporate and cook for 10 more minutes, or 
until there is no water left at the bottom.
Enjoy with scrambled eggs for breakfast or local beans for dinner. 

Pinto Beans, Chicos and Roasted Chiles

Fall in New Mexico offers a delicious harvest. In this arid climate, local people have been growing beans and corn for centuries. The abundant desert sun also allows chile peppers, sweet yellow, mild green, and spicy red, to grow bountifully. Every Saturday, vendors from the nineteen Northern New Mexican Pueblos come the the Santa Fe Farmers Market to sell their produce. 


I had the opportunity to talk with a farmer who had just threshed his crop of pinto beans, sweet corn, and chiles. As I sifted my fingers through the bushel basket of beans, he shared his wisdom about ways to cook the pintos so that they grow soft and digestible while maintaining their shape. 


Here is my interpretation of his recipe for cooked pinto beans:
Chiles with chicos (left)
and pintos (right)
In a stockpot, place 1 cup of beans in 5 cups of boiling water; boil for 2–3 minutes, cover and set aside overnight. The next day, most of the indigestible sugars will have dissolved into the soaking water. Drain, and then rinse the beans thoroughly before cooking. Cook fresh beans for 30 minutes or dry beans for 50 minutes, skimming off any foam that rises to the top.


"We cook these beans with chicos", he told me, while opening a bag of smoked sweet corn for me to smell. The aroma, earthy and rich, tantalized my senses. I listened to his stories about the importance of preserving corn so that it lasts for the whole winter. First he described making chicos, sweet corn kernels smoked in their husks and dried in the sun. 


Then, he detailed the way to make posole, corn soaked in lime water and ash. This process, known as nixtamalization, is essential for producing whole grain dishes such as posole and hominy as well as masa harina, the corn flour from which tortillas and tamales are made.
Soaking the corn keeps it from sprouting while in storage. In addition to preserving the grain as foodstuff, this process also affords several significant nutritional advantages over untreated maize products. It converts B vitamins into a form that the body can easily absorb. It also makes amino acids and calcium more readily available.


Both forms of alchemy allow the corn to last for many months while creating a flavorful and digestible variation on this starchy vegetable.


Even though you may not be able to find chicos outside of New Mexico, posole is more readily available. When you have a winter day to spend at home, try this recipe for Posole Stew. It will take about 6 hours to cook and the final flavor is well worth the wait.


1 pound prepared posole corn, well-rinsed         
1 medium onion, chopped
2 cloves garlic, minced
10 cups water
1/4 teaspoon oregano
1 teaspoon ground cumin
5 cups water, approximately
3-6 dried red chile pods, rinsed and crumbled
2 tablespoons salt                     

Place posole and 10 cups water in large stewing pot. Bring mixture to a boil at high heat. Reduce heat to low and simmer posole for 5 hours. Add the remaining ngredients to posole and simmer for 1 hour. 


Whether cooking beans with chicos or posole, many New Mexicans add freshly roasted green and red chiles. Their spicy sweetness lends even more depth to these traditional foods. 


Beyond being staple foods of the pueblos in Northern New Mexico, beans and corn are both food and seed. Every time we save a kernel of corn or a bean, we create the possibility for another crop to grow next year. Beyond their capacity to nourish us with a balance of protein and carbohydrates, these delicious seeds also feed the soil with their bio-available abundance of nitrogen, phosphorous and calcium.


No wonder each pueblo offers gratitude for beans and corn in its traditional dances and speaks of their meaning in their creation stories. Make time to cook and savor the simple richness of these foods for yourself.
Roasted Chiles

Roasting Chiles

Considering the Energy of Food

Food is life. As author Barbara Kingsolver writes in Animal, Vegetable, Miracle, “all living takes dying”. She would know. Her book chronicles one year of her family’s life spent eating food raised either on their farm or within a 50 mile radius of it. From growing and preserving vegetables to raising and slaughtering poultry, the Kingsolvers did their best to re-connect with their sources of nourishment.

Vermonters may be familiar with this ‘localvore’ concept, which establishes community networks for growing and eating more local food. Both this movement and Transition Town, a grassroots effort to address climate change and provide alternatives to dwindling oil supplies, raise awareness about the need to shift the way we use energy. From the fossil fuel, wood, coal and natural gas that power our technology to the beans, grains, meats and vegetables that allow us to live, society needs resources in order to produce more of them.

Local chanterelle mushrooms
Yet, the current food manufacturing system consumes more than it produces. As Michael Pollan argues in his recent book, The Omnivore’s Dilemma, large-scale food production has grown beyond its capacity to sustain itself. With so many options many are left feeling confused about what to eat. As Pollan explains, “what’s at stake in our eating choices is not only our own and our children’s health, but the health of the environment that sustains life on earth”.

By learning about the impact that our food choices have on the people and places which provide that nourishment, we may begin to notice how food access, or lack thereof, affects our communities and our health. Food Works is a Vermont organization that supports “local food systems by connecting area farmers to under-served populations”. Their ‘Farm to Table’ program delivers local produce to dozens of meal sites, including nursing homes, hospitals, and mental health programs, to serve those who are “nutritionally at risk”.

When a factory produces our food and ships it to the supermarket for us, we forget where it came from and how to use the strength of our bodies to raise it, cook it, and savor it. The more food we buy, the more money we must earn in order to purchase it. How can you divest yourself from this cycle?

Try these ways to reduce energy consumption when acquiring food.

Plant a garden. Visit Nofavt.org to find farmers or community gardens with public plots.
Source local food through Vermontagriculture. com. Find farmers markets and Community Supported Agriculture (CSA) farms and purchase or trade work for local produce, grains, meats, cheeses, and more.
Help your neighbors! Meet those whose gardens grow abundantly and work with them in exchange for vegetables.
Preserve food. See the previous post on this blog for easy recipes to preserve greens.
Get involved. Volunteer with the Foodbank’s Gleaning Program and collect excess farm produce for donation to those who could not otherwise access it.

Preserving the Harvest

This is the time of year to envision ways we can set aside food for the winter. If you have space in your freezer, consider preserving some of the green abundance of summer so that you do not buy as much from distant lands during the colder months. 
Here are some simple recipes to try. You can do this while you are cooking a meal once or twice a week. 

Lacinata Kale
Blanching Greens (kale, collards, chard, turnip greens or spinach):
  • Put on a big pot of water to boil.
  • Rinse kale.
  • Tear into 2 inch strips or manageable sizes.
  • Place the cut kale in boiling water and boil for 3 minutes.
  • Take kale out of pot with tongs, and place in a colander.
  • Rinse hot kale with cold water.
  • Drain any excess water off greens.
  • Place into freezer bags, labeled with date and type of greens.
  • Press any excess air out of bag and freeze.

Baked Kale Chips (kale, collards, chard, turnip greens or spinach):
 
About 1 bunch (6 ounces) of greens
1 tablespoon olive oil
Sea salt, to taste

  • Preheat oven to 300°F.
  • Rinse and dry the greens and remove the stems.
  • Cut into large pieces, toss with olive oil and sprinkle with salt.
  • Arrange leaves in a single layer on a large baking sheet.
  • Bake for 20 minutes, or until crisp. Place baking sheet on a rack to cool.
  • Store in plastic bags in the fridge...if they last!